Yesterday, Apple released iOS 8.1 along with the introduction of Apple Pay – Cupertino’s new Online Payment Solution. The update also brought some handy features i.e. SMS Handoff, Instant Hotspot, iCloud Photo Library, Camera Roll and more. But the main feature definitely is Apple Pay.
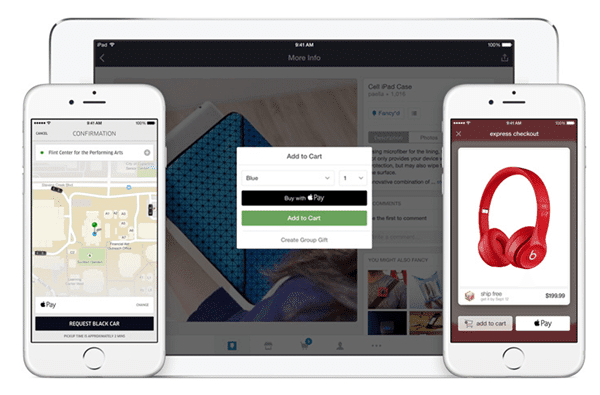 Till now, we have learned much about Apple Pay. Apple Pay will make use of NFC to perform its job. Hence, it can run on only few devices which are:
- iPhone 6
- iPhone 6 Plus
- iPad Air 2
- iPad Mini 3
- Apple Watch
How to Set Up Apple Pay?
So how to start using this amazing service? Well, we bring you the tutorial to set up Apple Pay. Remember, you need to run Apple’s latest iOS 8.1. Here are the instructions,
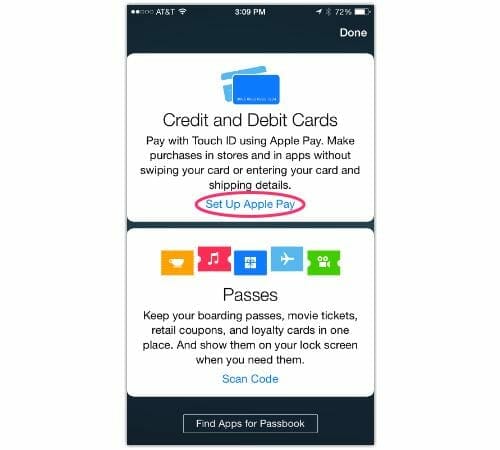
- Run Passbook app.
- Tap on ‘Set Up Apple Pay’.

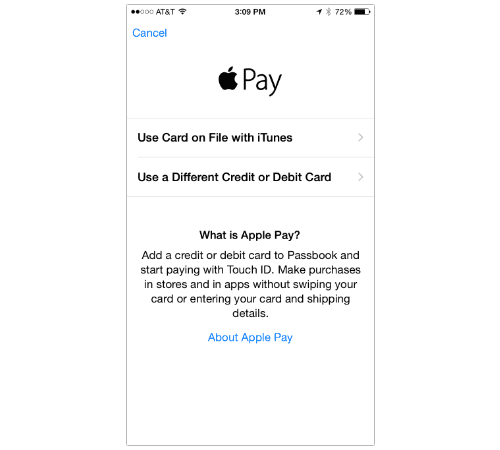
- Tap on ‘Add a new Credit Card or Debit Card’ option.

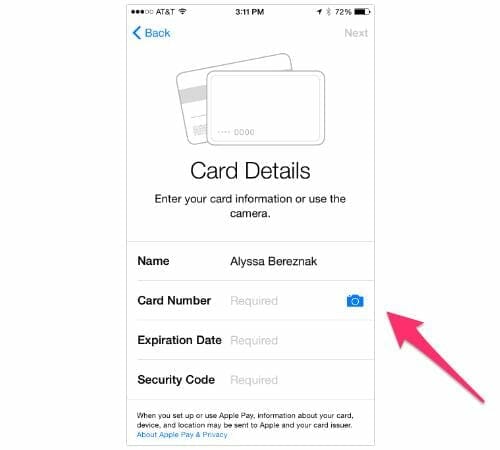
- Now, either you can enter your card data manually or can take a snapshot and upload it. Choose the one which suits you best.

- Afterwards, tap the ‘Next’ button.
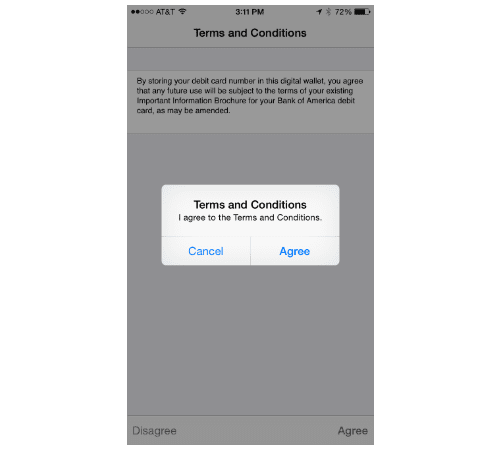
- After verification, you will be asked to Accept the Terms and Conditions.

- If some addition verification steps are required, perform them.
You will now see your device ready to use Apple Pay. You can add more cards to Apple Pay through Passbook app.
How to use Apple Pay?
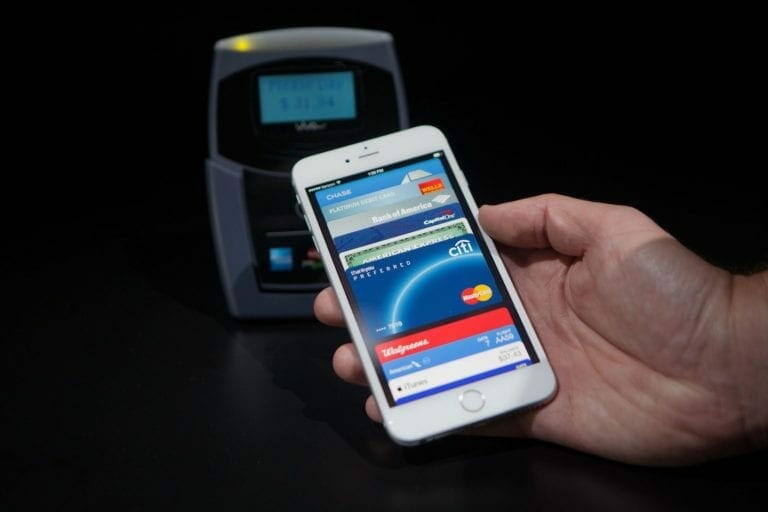
You have now successfully set up Apple Pay. It’s now time to use this great Apple payment service. Well, it’s quite simple. You need to place your finger on Touch ID to purchase apps from iTunes. Or, if you are at Retail store, hold your iPhone 6 near purchase terminal with the finger right on Touch ID, and you are done!
One thing for sure, Apple fans are really going to love this feature. If you are having any queries regarding Apple Pay, you can ask in comments below.

