Today the thing we are going to learn is How to create sample data using Blend. Well we have to say that when you discover it you would also know that what’s the power of Blend and how much it saves your time. This type of database could help in creating stuffs like phonebook, Car description book and much more.
Now today the application we are going to demonstrate is how to create a sample car magazine application using sample data in blend. Well obviously if you want to do all that in visual studio you have to create classes and have to binding data and also you have to instantiate objects as well as set their properties . Now we are going to show you how to do all this by just clicking some mouse button. So let’s begin, we divide it into three parts:
- Setting everything up and create a sample data.
- Then the design phase.
- And lastly adding data to the sample data you have created.
- First Create an Blank Application (Silverlight App) in Microsoft Visual Studio 2013 (preferred).
- After the project has been created.
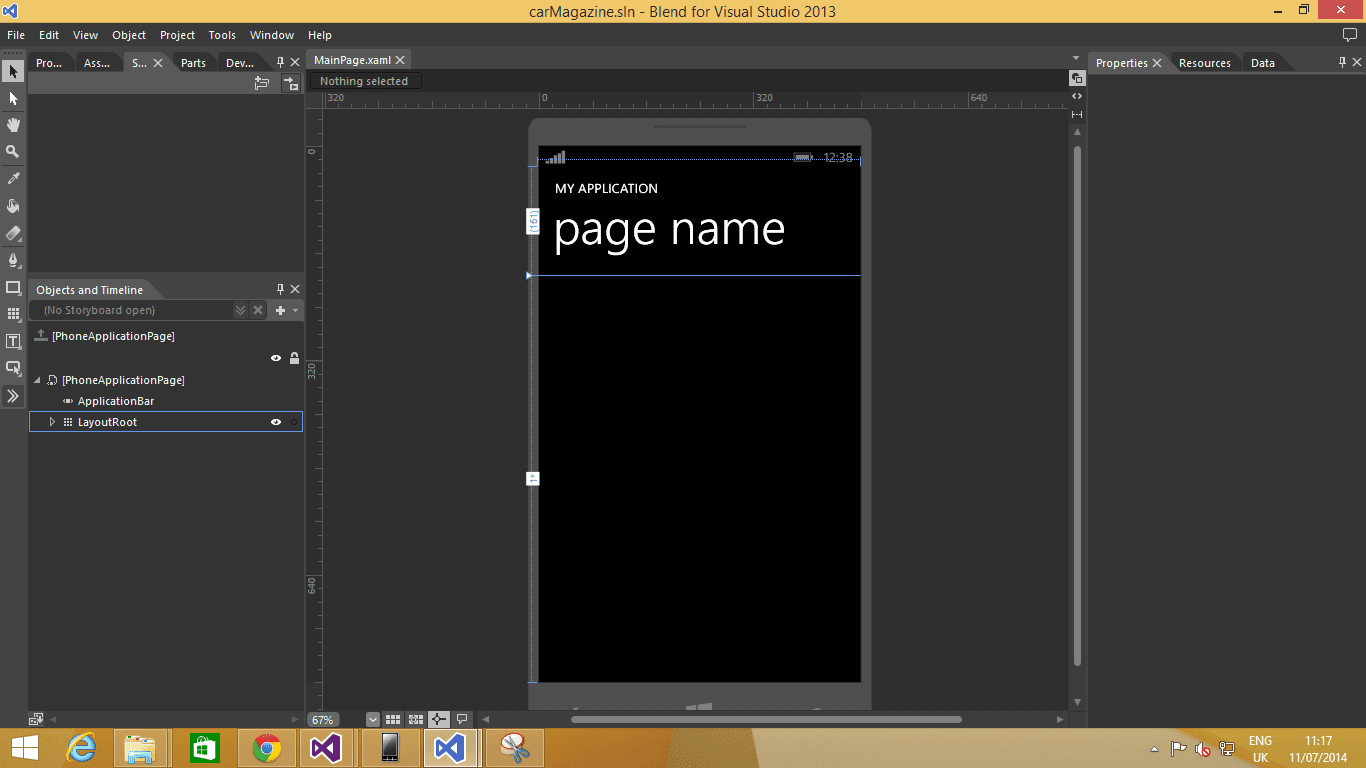
- Right click over project and select “Open in Blend“.
- Now you can see your project is loaded in Blend.

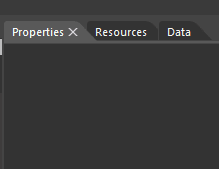
- Now find data tab if its appear to you just next to properties tab if not go to Windows drop down menu and check data.

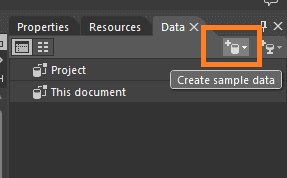
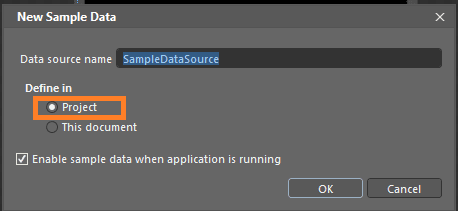
- Then click on Create Sample Data.


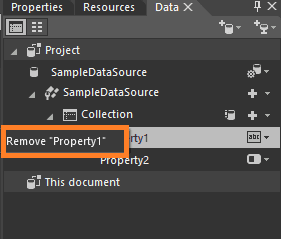
- Now Remove the properties defined as default by right clicking on them and clicking the option Remove.

- Create your own properties Name them and also define the type means what do you want it to be a string, number, Boolean or image type. like in our case Image property is set to Image type.

- After the creation of sample database now simply drag and drop Collection onto the main screen shown in the designers view.
Now this is all done you have successfully created the sample database. From, now on we are going to discuss about the next phase which is design phase. Now you would see that as you drop this sample Collection onto the screen it appears in a listbox.
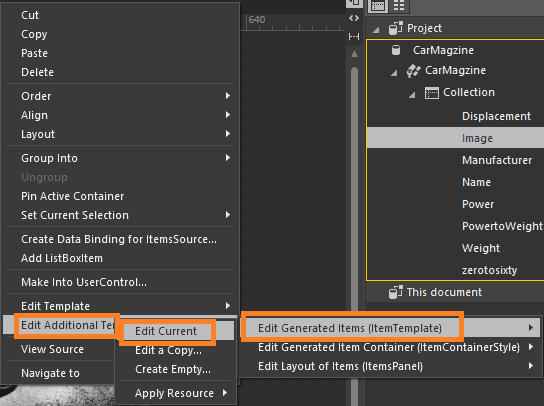
- Right click on the Listbox shown on the screen.
- Select Edit Additional Templates >> Edit Generated Item (Item Template)>> Edit Current.

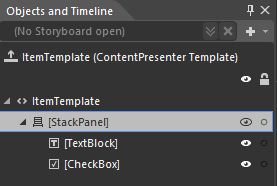
- As you click on it now you will see that you are in a stackpanel now and here you can easily move up and down any TextBlock as all properties are shown in TextBlocks.

- In this way you can easily change the way it looks.
Next Step adding data to our sample data.
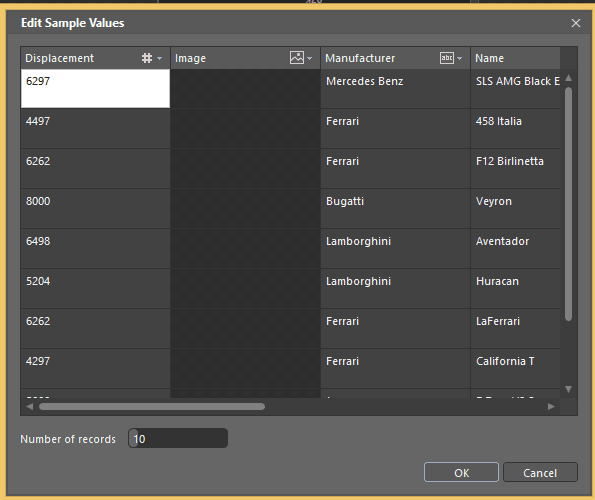
- Click on the Edit Sample Values button.

- Now you can see that a new Windows appears to you, it has same data as shown on the screen.
- Now all you have to do is simply edit the data you want and it will appear on the screen.

Here you see that how we created an Car Magazine Application just by clicking on some buttons. Well if we have to make same application using Microsoft Visual Studio 2013 it would have taken hours (Dependent on your speed).
Download Sample Code from Here.
By Muhammad Asad

