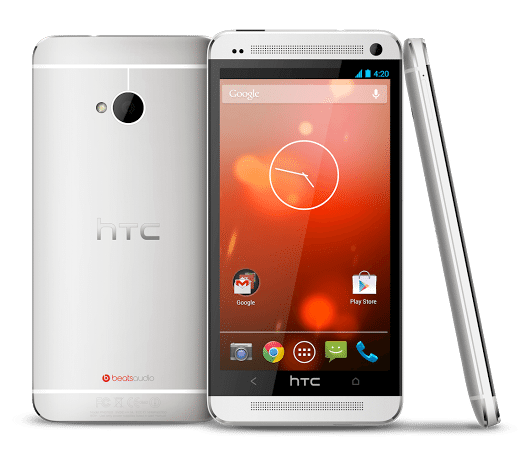
Android is an open-source Operating System released by Google. However most of the companies modify the OS according to their own requisites. Same is the case with hTC One as it contains the modified Jelly Bean 4.2.2.
So here we bring a simple guideline of steps for rooting hTC One. Make sure that Rooting should be done with caution as it may damage your device warranty and damages its functionality. Before starting, you should consider these things:
- USB drivers are ‘installed’ in order to enable the transfer between PC/Mac and Android Device
- Debugging Mode is ‘Turned On’
- Backup your device
For Rooting hTC One, follow these steps:
Step 1: Visit the hTC Dev Site and create an account
Step 2: Create a folder in the C: drive of the computer named fastboot
Step 3: Download the adb/fastboot files
Step 4: Extract the files in the fastboot folder of the C: drive
Step 5: Now, go to hTC Bootloader and select All other supported models
Step 6: Click on BeginUnlock Bootloader, then click Yes on both options
Step 7: Turn off your phone
Step 8: Hold Power and VolumeDown button in order to see bootloader menu
Step 9: Press the Power button in order to enter fastboot mode
Step 10: Now connect your device with PC/Mac via microUSB cable
Step 11:
Type following command in the Command prompt:
For PC: fastboot oem get_identifier_token
For Mac: ./fastboot-mac oem get_identifier_token
For Linux: sudo ./fastboot-linux oem get_identifier_token
Step 12: Copy the displayed token
Step 13: Paste the text into the box at bottom and click Submit
Step 14: You will soon receive a mail from hTC Dev with the Unlock_code.bin attached
Step 15: Download the file and save the file in the same folder in which fastboot files are saved
Step 16:
Now enter this command in the Command Prompt:
For PC:
fastboot flash unlocktoken Unlock_code.bin
For Mac:
./fastboot-mac flash unlocktoken Unlock_code.bin
For Linux:
sudo ./fastboot-linux flash unlocktoken Unlock_code.bin
Step 17: Select the Yes option on your phone and click the Power button
Step 18: After reboot, your hTC One has been removed and will display the Welcome message
Step 19: Go through the Setup process
Step 20: Now copy the file CWM-SuperSU-v1.30.zip file hTC One Root folder to the internal storage of your device
Step 21: Turn off your phone
Step 22: Reboot your phone again in fastboot mode
Step 23:
Enter the following command to install recovery:
For HTC One M7 (AT&T/T-Mobile/International/Unlocked/Developer):
fastboot flash recovery openrecovery-twrp-2.5.0.0-m7.img
For HTC One M7WLS (Sprint):
fastboot flash recovery openrecovery-twrp-2.5.0.0-m7wls.img
Then Type:
fastboot erase cache
For Mac, replace fastboot with ./fastboot-mac
For Linux, replace fastboot with sudo ./fastboot-linux
Step 24: Select Bootloader and press Power button
Step 25: Select Recovery and press Power button
Step 26: Select install in TWRP recovery
Step 27: Select the file CWM-SuperSU-v1.30.zip
Step 28: Swipe the file. This will root your device by SuperSU superuser app and SU binaries
Step 29: Reboot your system
Step 30: After the Reboot, you will see the SuperSU app. It indicates that you have successfully ROOTED your hTC One
Step 31: Now it’s time to restore your data. Copy the backup data into your hTC One’s internal storage
Step 32: Now turn on the Debugging Mode as it may be disabled when you reseted the phone
Step 33:
Enter the following command to restore your app and app data:
For PC:
adb restore backup.ab
For Mac:
./adb-mac restore backup.ab
For Linux:
./adb-linux restore backup.ab
Step 34: Select Restore my data on your phone
Step 35: Backup your ROM so that you may unroot your device in future to claim warranty
So that’s all, you have successfully rooted your hTC One.


