Follow the guide to install Custom TWRP Recovery on Google Pixel 2 and Pixel 2 XL. Androids are the most convenient and customizable devices. Provided the fact that they initially come with limited functionalities and we have to transform them in limitless. Unlocking the Bootloader and Installing Custom recoveries give the limitless process a good start. Apparently, there is so much that the respective processes offer. You can access versatile and wide range of features. As we all know, Google Pixel 2 and Pixel 2 XL just hit the markets with already amazing features and to add more to those, we are providing the guide to install TWRP recovery on Google Pixel 2 and Pixel 2 XL.
What is Custom Recovery?:
Before jumping towards the process, let’s discuss what a custom recovery is. In fact, recovery is a very essential element of an Android device. All the Android smartphones come with a pre-installed recovery that is known as Stock Recovery. But of course, Stock Recovery has limited features and to cope with that, Custom Recovery is there. Whether it’s about factory resetting the device or backing up the data, TWRP offers simplest to complex all features. TWRP Custom Recovery allows you to do full backup of your device that is called as the Nandroid Backup. That means it recovers your data if it gets lost in the process of installing custom rom.
Easy steps to install TWRP in your device are as follows. Follow the simple steps to install TWRP Recovery on Google Pixel 2 and Pixel 2 XL.
Prerequisites
Before installing TWRP recovery in your Pixel 2 and Pixel 2 XL, you have to make sure you have unlocked the Bootloader of your Google Pixel 2 and Pixel 2 XL. To know the process of Unlocking the Bootloader, see our previously explained guide HERE!
- A PC or Laptop.
- Both the tools, ADB and Fastboot installed.
- TWRP Recovery file for the device that you can get on this page.
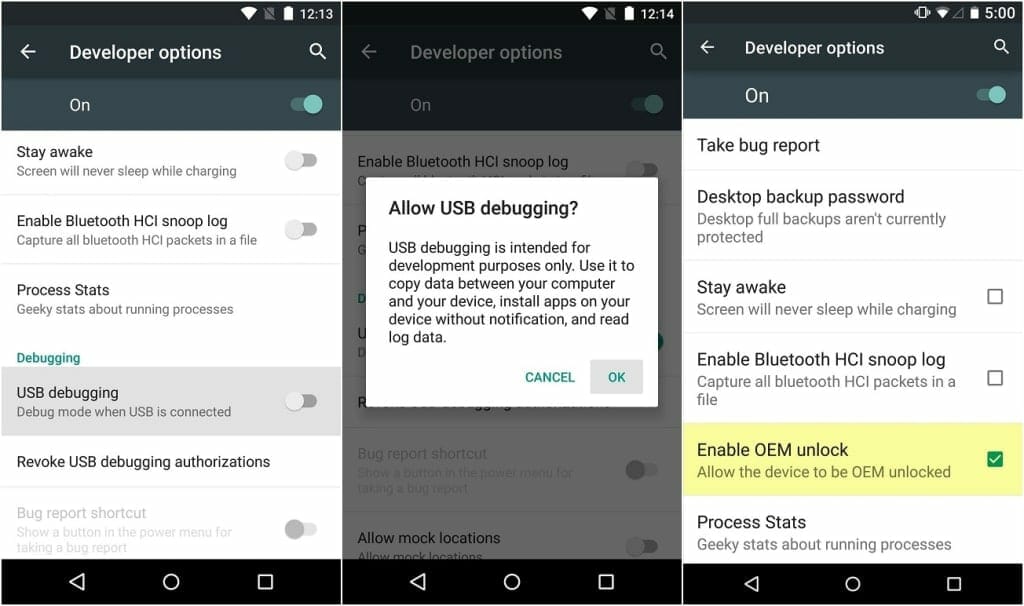
- Enabled USB Debugging option.
To download TWRP, Fastboot and ADB tools in your device, check the links below.
Install TWRP Recovery on Google Pixel 2 and Pixel 2 XL.
Thanks to Brian706 who pointed out the mistake in the method below. It is now corrected.
- You can download the TWRP Recovery for Pixel 2 and Pixel 2 XL from here. (Pixel 2 TWRP | Pixel 2 XL TWRP) and zip files to flash using TWRP.
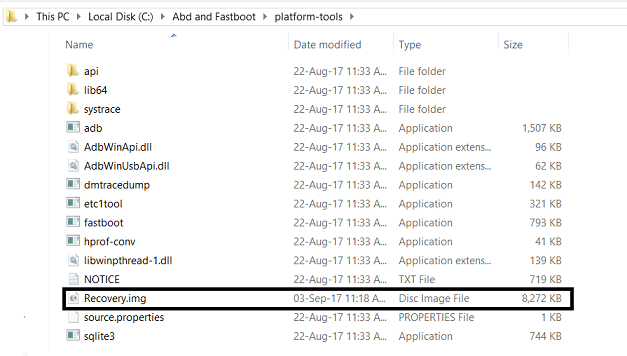
- Rename the TWRP file to Recovery.img and move the downloaded zip files to your phone.
- Put the renamed file in the ADB and Fastboot folder.
- Link your device to the PC through the USB cable.
- From the Start Menu, Search for Command Prompt.4
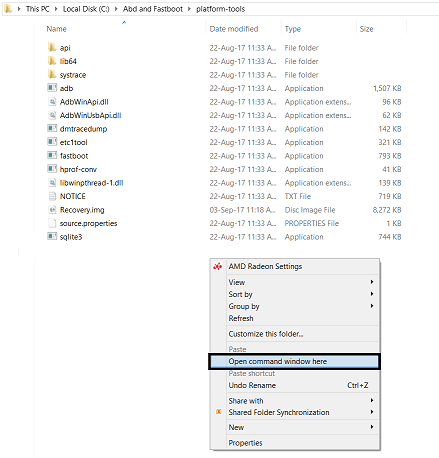
- Hold Shift + Right Click, then select Open Command Window here.
- Afterwards, type the command “adb reboot bootloader” in the opened window.
adb reboot bootloader
- The device will go in Bootloader mode. Afterwards, type the command “fastboot boot recovery.img” to install the recovery in your device.
fastboot boot recovery.img
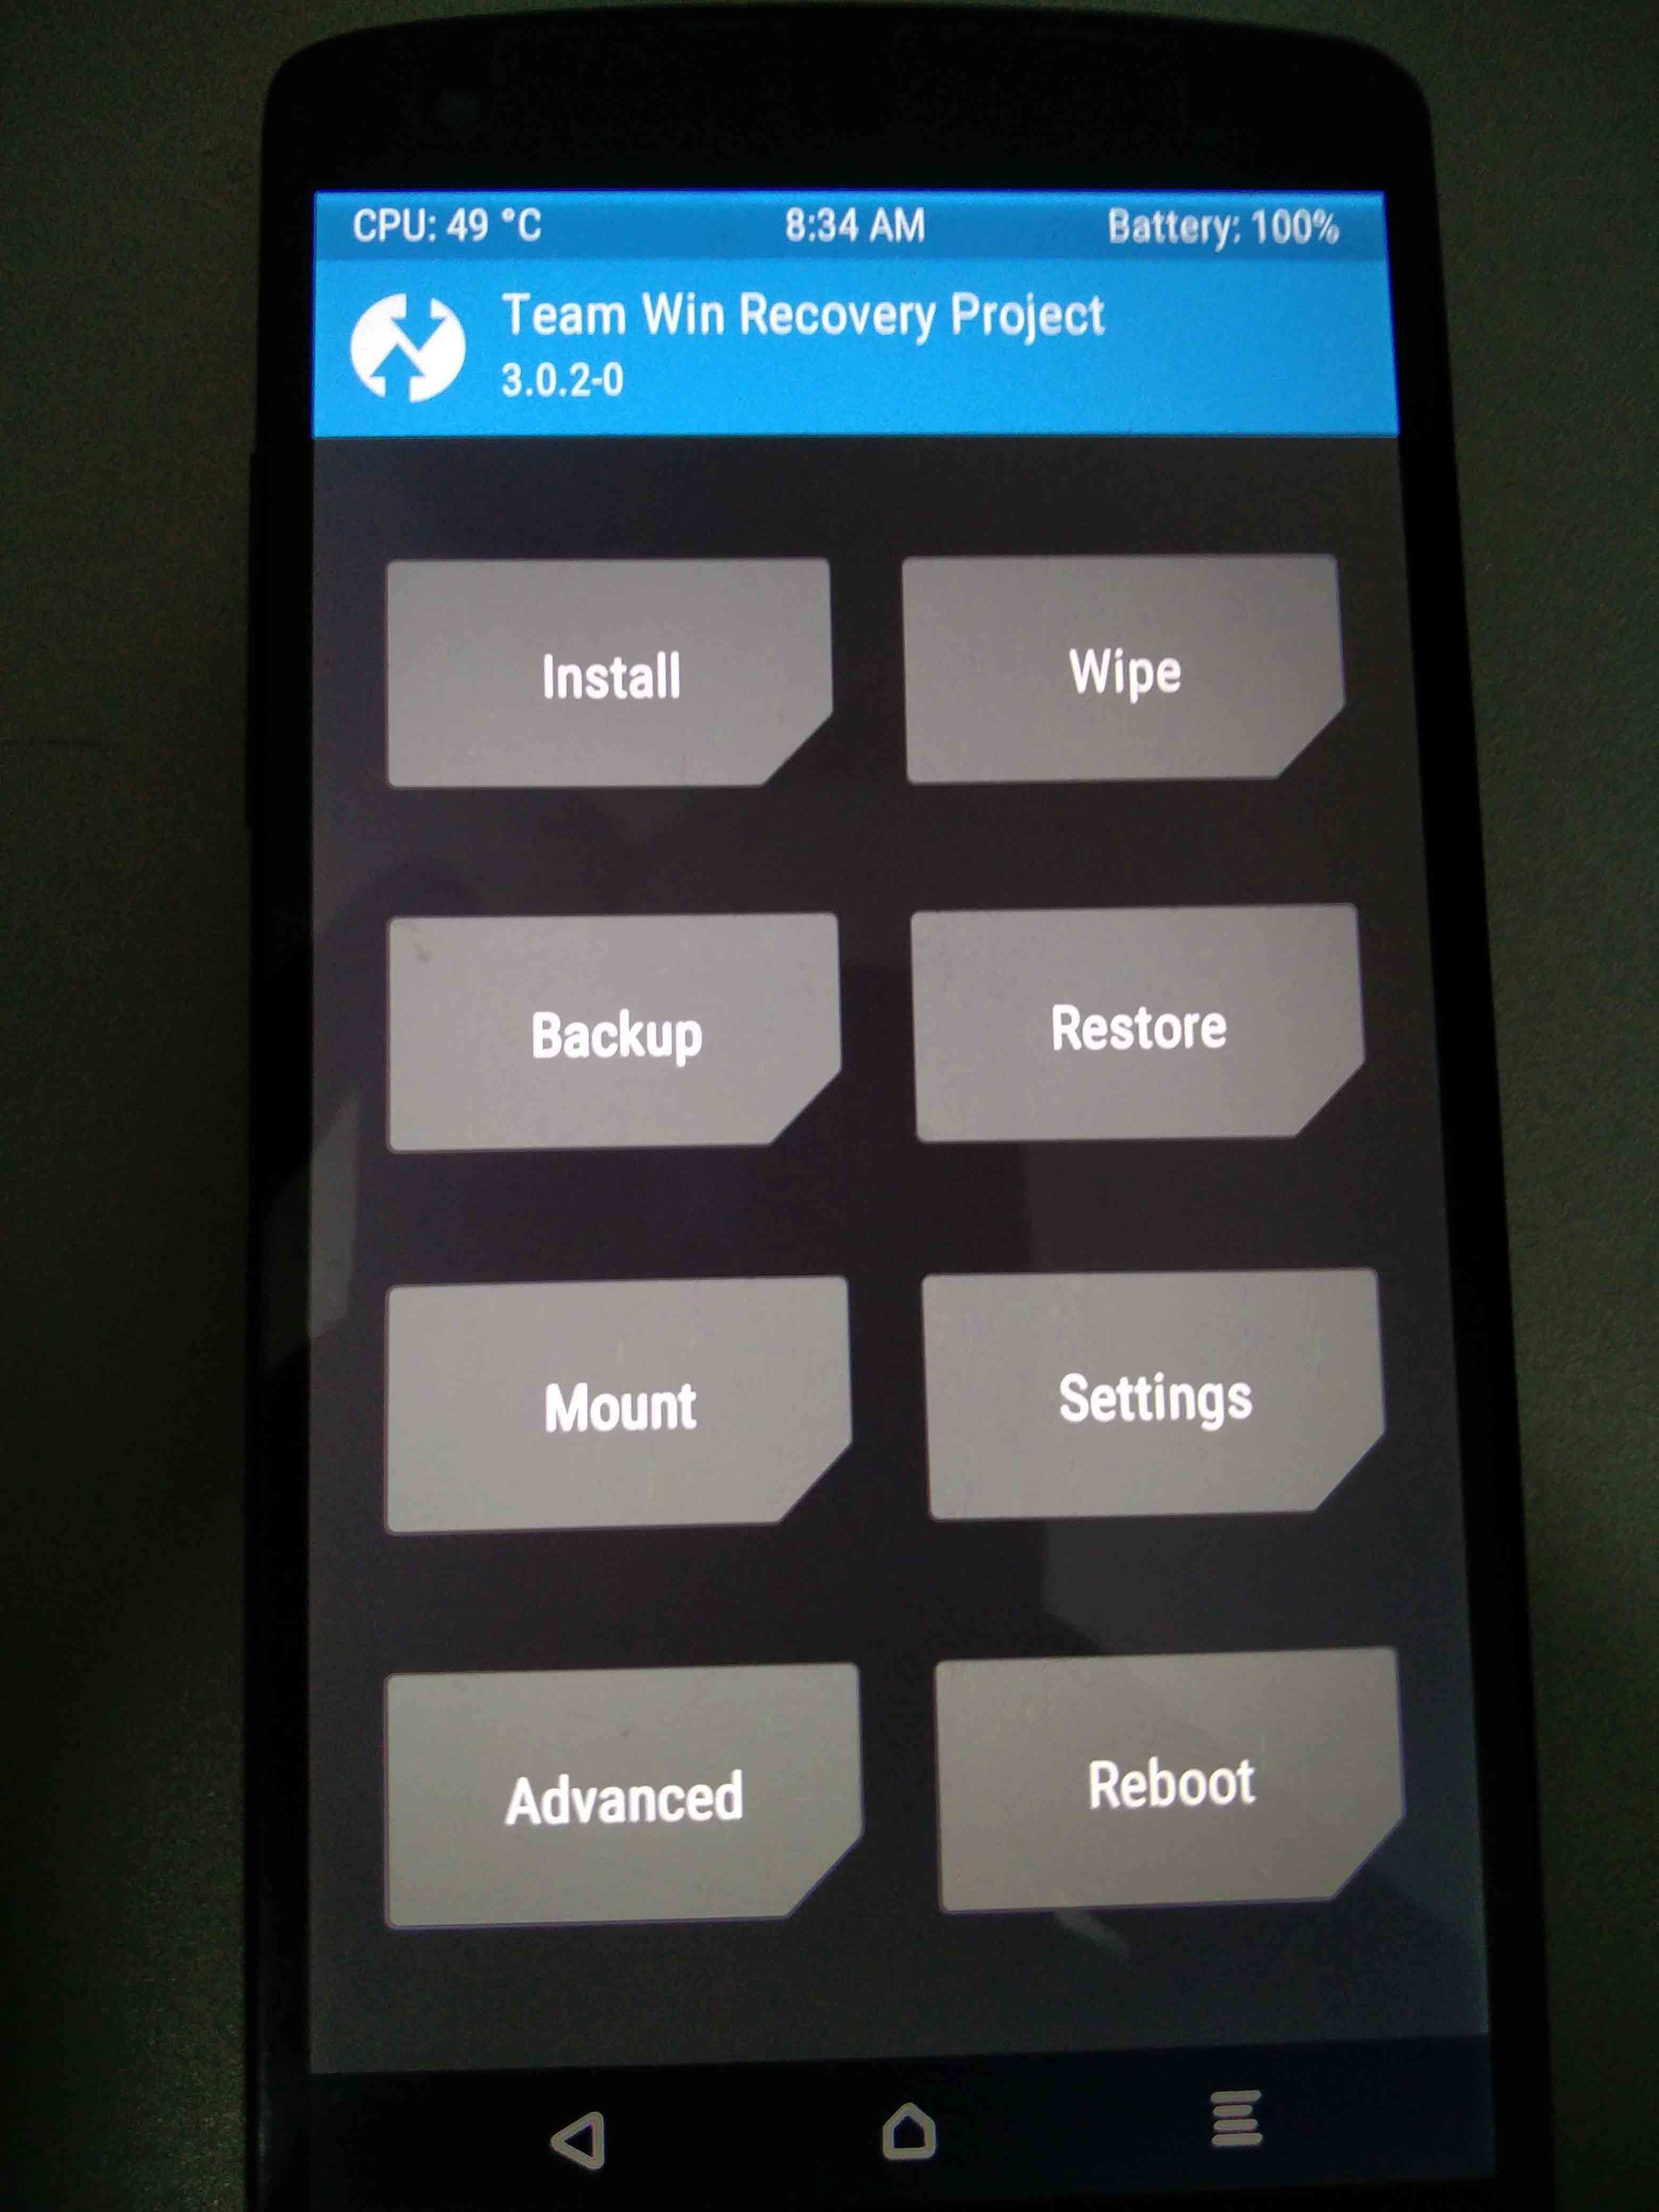
- You’re almost there. Your phone will booted to TWRP recovery (Note: This is not permanent you need to follow the next step)
- Once TWRP is booted, now install the zip file you moved earlier to your phone.

- Restart your device from TWRP recovery.
- The TWRP Recovery will be installed and available for your device.
Follow the process and if any error occurs, do let us know in the comments.


