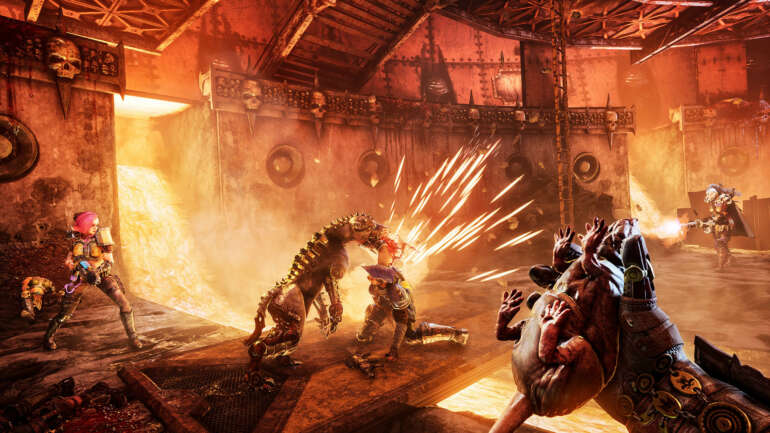
Necromunda: Hired Gun, a fast-paced first-person shooter, was released by Streum One Studio. In just a few days, it has procured over a thousand positive reviews on Steam. However, there are a few bothersome limitations in Necromunda: Hired Gun. One of such restrictions is that the HDR settings in Necromunda: Hired Gun can’t be calibrated.
While the HDR feature improves the visual clarity of the game, it may add some noise to it or cause performance issues. If you’ve enabled HDR in Necromunda: Hired Gun but want to increase or decrease, we know how you can do that. In this article, we will explain exactly how you can change the HDR settings in Necromunda: Hired Gun according to your own preference.
How To Change HDR Settings In Necromunda: Hired Gun?
- Make sure that HDR is enabled in Windows 10.
- Download and install Special K from here.
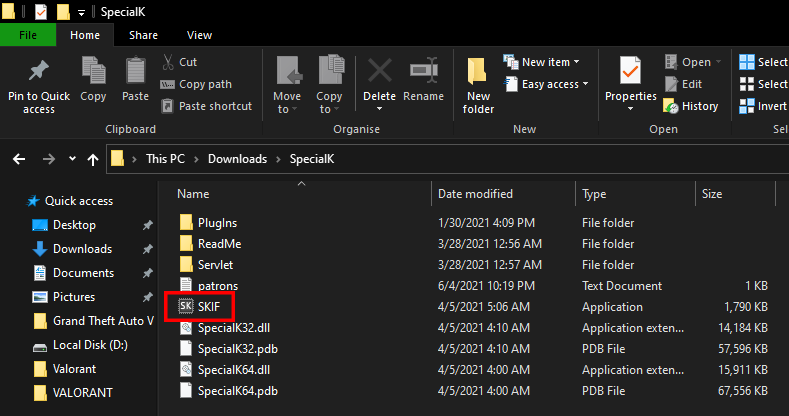
- Extract it onto your PC.
- Double-click on SKIF.

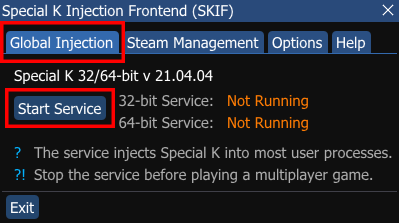
- Go to the Global Injection tab.
- Click on “Start Service” to enable it.

- Open Necromunda: Hired Gun.
- Press CTRL + SHIFT + BACKSPACE on your keyboard to open the Special K UI.
- Under the Widgets tab, open the HDR Calibration menu.
- Enable “scRGB HDR (16 bit)” and restart Necromunda: Hired Gun.
- Once it’s restarted, you can adjust the HDR settings from the HDR Calibration menu.
You need to re-enable Global Injection each time you restart Necromunda: Hired Gun. It is recommended that you switch the display mode to borderless windowed in-game to avoid any DPI scaling issues. Unfortunately, this method only works if you purchased and installed the game from Steam.
If you have any recommendations for resolutions of these issues, do mention them below and assist others as well. If you have any further queries, comment them below and we will respond to you as soon as we can.
For more up-to-date information regarding gaming, click here!

