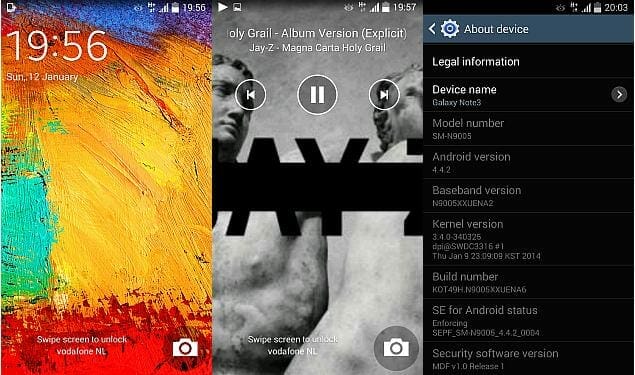
Using stock Android ROMs is always recommended by the smartphones companies. As, it is safer and simple. Moreover, you can also claim warranty if you are using the stock ROM. However, still many users carry out rooting to enhance the functionality of their device without thinking of losing warranty.
But well, it’s easy to switch back to Android ROM from a custom ROM i.e. a rooted one. All you need is a stock Android firmware. Follow the tutorial to flash it and you are done.
Here we bring you guide to flash Android 4.4 ROM on Galaxy S4 I9505 model. The latest Android 4.4 ROM is termed as ‘XXUFNB9’. Previously, we have already brought a tutorial regarding how to install latest Android 4.4.2 update on Galaxy S4 I9505.
The tutorial is simple and can be completed in about 10 minutes. Once, you are successfully able to flash Android 4.4 ROM, you can enjoy the stock apps and can even take benefits from the manufacturer’s warranty.
Flash Android 4.4 ROM on Galaxy S4 I9505:
Before, we move to the actual procedure, we need to consider a list of points. These points are the pre-requisites so that to make the procedure successful.
- Make sure to have more than 50 percent of battery on your device.
- Download the latest Samsung USB Drivers from here.
- Head to Settings > Developers Options to enable the ‘Debugging Mode’. If the options is not there, go to ‘About’ in Settings. Scroll down to ‘build number’ and tap the area 7 times to make the option available.
- If you have any Antivirus and Samsung KIES software working, disable it.
Procedure to flash Android 4.4 ROM:
Now, it’s time for the actual procedure. All you need is to follow these steps to flash Android 4.4 ROM and you are done. Let’s begin,
- Download the latest Android 4.4 ROM firmware from here.
- Download the ODIN v3.09 tool from here ( Source 1 | Source 2 | Source 3).
- Unzip the both compressed files to a folder on desktop.
- Install the ODIN tool on your PC.
- Switch off your Galaxy S4 I9505 device.
- Boot your device in Download Mode by holding Power, Home and Volume Down button simultaneously.
- Run the ODIN tool.
- Connect your PC with the device through USB cable.
- As the tool recognizes the device, a ‘added’ message will be displayed. The ID:COM section on the tool will also turn Green or Blue. If things are not so, try re-installing the drivers and repeating the steps.
- Click on ‘PA’ button and browse for the downloaded firmware.
- Once loaded, click on ‘Start’ button. Keep in mind to uncheck the option for re-partition.
- As the process ends, your device will automatically reboot turning the ID:COM section Yellow. A ‘pass’ message will also be displayed.
- Disconnect the cable and enjoy the latest Android 4.4 ROM.
Hope, you have successfully switched to the stock firmware. Now, you can use manufacturer apps and warranty. Were you able to flash Android 4.4 ROM successfully? Tell us in your comments below along with the related queries and questions.


