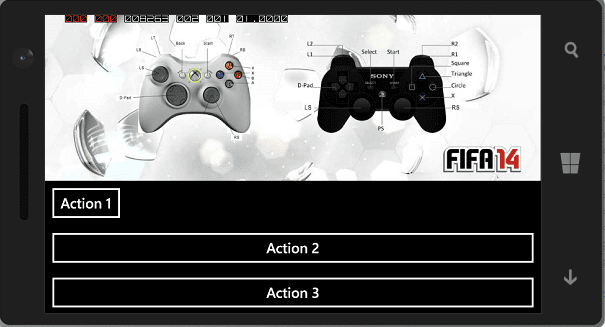
This tutorial is simply based on Orientation. Orientation means how you app looks like when your Windows Phone is rotated in other directions. Like from portrait mode it goes to landscape.
Before getting hands on Orientation, you must know how to set up Grids, Rows Definitions and Columns Definitions. If you are not familiar with them so please visit here.
Lets get started with Orientation:
- First of all set Grids, Rows Definitions and Columns Definitions
- Then set a stack panel and place a random Image and some two to three button
- You would find trouble adding Image, as beginner so what the way to do that. Make a new folder by right clicking on Assets folder then go to ADD then click on new folder.
- Give your folder a name Like I have Provided Folder a name with “Image” as shown in the image below. You can see the Image Source extension
- Then pick any picture in the from your computer and copy it into the new folder you just made
- When you are done with this move to MainPage.xaml.cs and write the following piece of code in the constructor. This will allow the app to detect which orientation you device is current working on is it Portrait or Landscape. And will adjust.
- But as you see that when the following line of code is called it is pointing towards some function which will be called in order to change the Orientation of app “this.OrientationChanged += MainPage_OrientationChanged”. So add the following lines of code. This will set your Rows and Columns according to the Phone’s Orientation.
- Last but now least move to MainPage.xaml and change the following
For Complete code Click Here.

