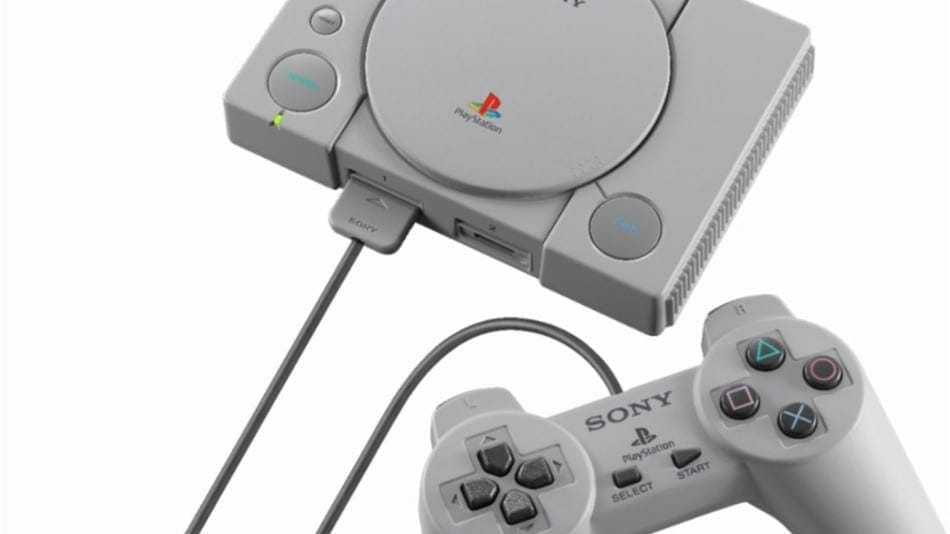
Last year I did an article where I showed you how to install BleemSync from scratch on your PlayStation Classic. BleemSync is a revolutionary piece of software that enables you to sideload PS1 games onto your PlayStation Classic using a USB flash drive. Yesterday, the team behind BleemSycn released their first official build called BleemSync 1.0. In this article, I will show you step by step on how to Update To BleemSync 1.0 from the old version of the software. If you are completely new to BleemSync then we also have a guide on how to install the newer version from scratch.
What is BleamSync?
The team behind this project goes by the name “Mod My Classic” with DoctorDalek being the brains behind the whole idea. BleemSync is a piece of software that enables you to sideload your favorite PlayStation 1 games onto PlayStation Classic using a USB drive. Bleem Sync achieves this by automating the game database generation process so that you won’t have to alter any database file. Which is what you would have done if you were using Gpghax ( an outdated and risky method of playing custom games on PlayStation Classic)
In short, the whole process of sideloading games onto PSC has become extremely convenient and you can easily do it by following a few steps especially after the release of BleemSycn 1.0.
Key Features:
- Create your custom PlayStation Classic experience by adding your own games, emulators, themes and mods.
- Easy to use, UI application to use to allow easy game adding/syncing, modification and configuring. (Compatible with Windows, Mac and Linux)
- Better FileSystem support (Ext4, exFAT, NTFS, FAT32)
- Multi OS support (Windows, Mac, Linux) (basically anything that has a RDNIS driver. Which is a lot.)
- Reliable and steady emulation performance.
- RetroArch support and Integration.
- Multitude of various controller support with RetroArch.
- Big community available to offer support to fellow users.
- And many more awesome features!
How To Update To BleemSync 1.0 From An Older Version
Warning from devs! PLEASE NOTE – It is strongly recommended that you fully backup your USB regardless. It is also recommended to start a fresh install to ensure your usb is set up correctly. Whilst we have migration tools built in to the new bootloader we cannot guarantee that you won’t lose data in part of the process.
Note: Be aware that save states created in earlier versions of BleemSync are incompatible with 1.0 and up
Requirements:
- USB Drive
- PC/Laptop
- BleemSync 1.0.0 Public Beta
Step 1- Start off by inserting your existing USB flash drive into your computer. This is the USB drive you might have made when installing the old BleemSync from my guide here.
Step 2- Now navigate to the root of your USB Drive and delete the following folders.
- 028c18a9-ec4b-4632-b2cf-d4e20f252e8f
- lolhack
- BleemSync (if it already exists)NOTE: It is important to only delete these files. If you delete any other BleemSync files then the migration is less likely to be successful.
Step 3- Download the BleemSync 1.0 zip package from the list above and extract it to a new folder in your computer.
Step 4- Copy the extracted contents of the zip file to the root of the USB stick.
Step 5- Make sure your console is unplugged from power, HDMI and any powered USB hub.
Step 6- Insert the USB drive in controller port 2 on your console and hook the power cable back on.
Step 7- When the orange light displays, power on the console as normal and wait.
Step 8- Once the initial install is completed, your console’s LED light will flash red and an install complete message will be displayed for 5 Seconds. The console will automatically REBOOT after this.
Step 9- Once the console reboots and the console’s LED is ORANGE, it means you have successfully installed!
Step 10- To complete the migration you will need to turn the console back on, and wait for it as it goes through the BleemSync launch routine. Once it reaches the Boot Menu the migration is complete!
Step 11- To verify if the migration has been successful or not, launch BleemSync, and you should find your existing games on the carousel.
Step 12- You can turn off your console, and the process is now complete.
This is all, leave me a comment below if you have any questions.

