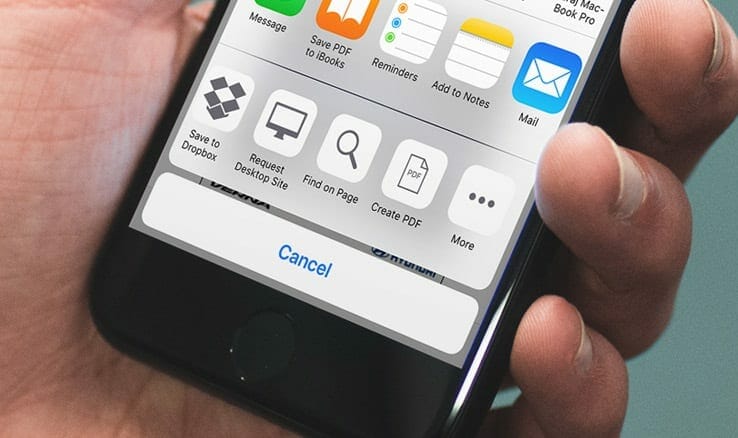
Do you recall the process you have to go through to convert web pages into PDFs? That complicated as hell process has become as seamless as you can ever imagine!
Along with several amazing features and perks, the iOS 11 makes it a lot easier to save webpages as PDF on your iPhone/iPad. It not only converts it, but also allows you to annotate it with the desired effect! (How cool is that?) With the Markup tool, you can give your personal touch before you share it with your close friends. Interested in knowing how it works? Let’s find out!
How to Save Web pages as PDF as iPhone and iPad
Step #1. Launch Safari on your iOS device.
Step #2. Go to the site and then the web page which you want to save as PDF.
Step #3. Now, tap on the Share button.
So, this is the simplest way you can use to convert any web page into a PDF document and then annotate it, and share it with your friends!
Feel free to tell us what you think about this easy yet effective method!

