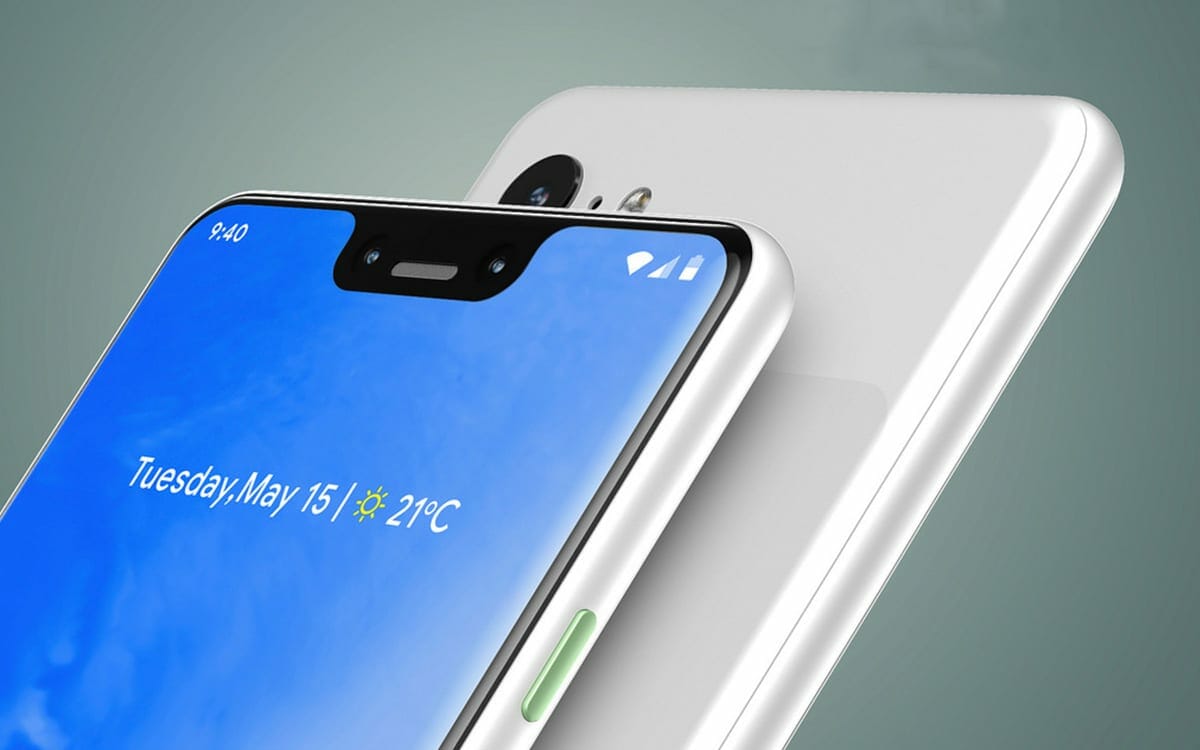
Google recently launched its latest flagship, the Pixel 3 and Pixel 3 XL. Naturally, the developer community didn’t wait long to figure out how to unlock Google Pixel 3 and Pixel 3 XL Bootloader. Unlocking the bootloader is a preliminary step in rooting a device. As we all know to root an Android device lies at the root of the complete Android experience. So let’s see how we can go about unlocking the bootloader on Pixel 3.
How To Unlock Google Pixel 3 and Pixel 3 XL Bootloader
As you may already know, the Google Pixel phones run stock Android. The Stock Android experience as many would argue is the main selling point of the phone supplemented by excellent hardware as well. Rooting stock Android is relatively easy, however, there isn’t a TWRP recovery available for the devices yet. This means we can still root the devices but through a different method. Anyway, Rooting is a topic for another article, first, let’s see how we can unlock the bootloader.
If you are new to all this, you may be asking why do we need to unlock the bootloader or root an Android phone. Well, the short answer is, unlocking the bootloader lets us install custom ROMS and enables us to root our devices. Rooting, in turn, allows us to tinker with many system settings that otherwise you wouldn’t have access to.
Before proceeding read the following disclaimer carefully.
Disclaimer: We here @TheNerdMag will not be responsible for any data loss or any damage done to your device during the unlocking of bootloader or the rooting process. You can proceed at your own will if you think you can follow the instructions diligently, though doing this will void your warranty (if any).
Google Pixel 3 and Pixel 3 XL Unlock Bootloader Check List:
- Since the Pixel 3 phones don’t come with SDcard expansion. You will be losing all of your data upon unlocking the bootloader. Hence, it will be prudent to back up all of your important data before proceeding. We recommend the app “SuperBackup” and you can read about how to use the app here.
- ADB and Fastboot Must be installed on your PC. If not then you can follow this guide.
- Your device must have at least a 60% charge.
- You must already have enabled USB Debugging and OEM Unlocking on your Pixel 3/Pixel 3 XL. If not then go to settings of your phone. Scroll down to “About Device” and tap on it. Now scroll down to “Build number” and tap it repeatedly several times until it says “developer options enabled”. Now exit to settings menu and tap on Developer options. Scroll down to “USB debugging” and “Enable OEM unlock”. Enable both of these options.
Unlock Google Pixel 3 and Pixel 3 XL Bootloader
Step 1- Turn off your phone and connect it to your PC/laptop/Mac via a USB cable.
Step 2- Navigate to ADB installation folder on your computer. It is usually,
(C:Program Files (x86)Minimal ADB and Fastboot)
Step 3- Now type in cmd in the address bar at the top of ADB installation window. Hit enter. This will open the command prompt.
Step 4- Now we test if your device is properly connected and responsive. To do this type following in cmd prompt and hit enter.
adb devices
In case you’re using Windows Powershell, the command will have to be this.
.adb devices
In case of macOS or Linux, the command will be this.
./adb devices
Step 5- If you have done everything correctly until now then your phone’s serial number will be displayed. If it is not displayed then make sure you have the right drivers installed for your phone.
Step 6- Now, You will need to reboot your Pixel 3 or Pixel 3 XL into fastboot mode by using the following command. You can change the syntax accordingly as we did with “adb devices” command above.
adb reboot bootloader
Step 7- Type the following command into cmd prompt to unlock Google Pixel 3 and Pixel 3 XL Bootloader.
fastboot flashing unlock
Again, this will wipe all your data so make sure you have backed up your data beforehand.
Step 8- Check your phone, you will be warned about unlocking the bootloader, press the Volume Up button to highlight “Unlock the bootloader” and press the Power button to select it.
Step 9- Your device will reboot again after the above command is executed. This time you will see “unlocked” along with a red warning sign. Use the following command now to boot back to your OS and set up your device from the start.
fastboot reboot
There you have it, you have successfully unlocked the bootloader on your Pixel 3 phone. We will be doing a Root guide for Pixel 3 and Pixel 3 XL so stay tuned.
Leave us a comment below if you have any questions. Thank you for reading 🙂
Update: Our “How To Root Google Pixel 3 and pixel 3 XL” guide is live now.

