
What started as a way to stream audio to TV using AirTunes and AirPlay in 2004 has changed into what we today know as casting video to TV screens. Up until 2010, such a technology was unheard of but in 2010 Apple came up with Apple TV, a device that was capable of streaming video and audio to a TV screen. However, there is an alternative to Apple TV which is known as Google Chromecast. In much the same way as Apple TV, chromecast streams video and audio to a TV screen. Many people prefer it over Apple TV primarily because it’s more convenient. So, today we will show you how to set up Chromecast on MacOS.
What you will need to install chromecast on MacOS
You will need the following to stream video from MacOS to a TV screen.
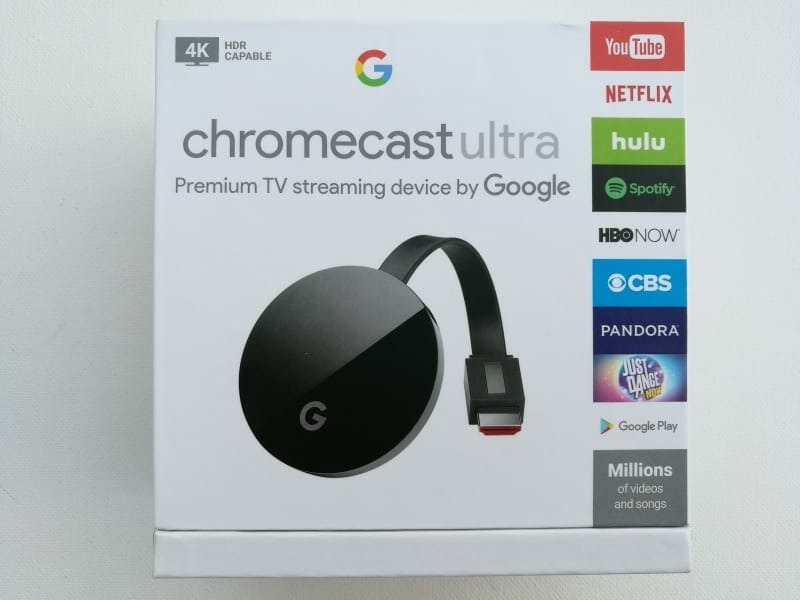
- Google Chromecast device
- Television
- Chrome web browser
- Mac computer
Setup Chromecast Device on Your TV
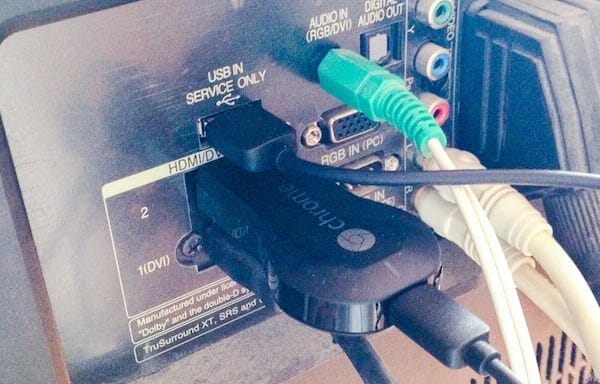
Step 1- To start off, insert the HDMI input of Chromecast into one of the HDMI slots of your TV. To power up Chromecast device, you can plug the USB-A cable into a USB port on your TV. If your TV does not have a USB port then you can use a mobile charger.
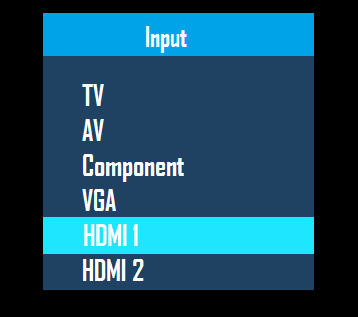
Step 2- Turn on your TV and navigate to the input or source menu. Most TV remotes would have buttons for this named as “source/input”. If you don’t find any such keys then simply go to the menu of your TV and there should be an option to choose a source. Select the HDMI input that you connected Chromecast device to.
How to install Google Chromecast on MacOS
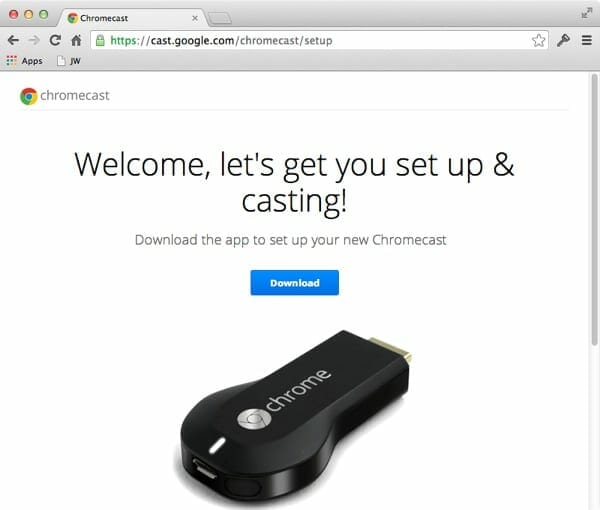
Step 1- Open Google Chrome browser and go here.
Step 2- Click the blue download button to download Chromecast dmg.
Step 3- Install the chromecast software and agree to the terms and conditions. Chromecast will start searching for available devices. However, be notified that your Mac and your Chromecast device must be connected to the same Wifi network for all of this to work. Moreover, Chromecast only connects to 2.4GHz Wi-Fi, so if your Mac is connected to a 5GHz network, you will not be able to find the Chromecast. Switch networks and you’ll see it.
Step 4- Once the chromecast device is found click on the blue “set up” button.

Step 5– Click continue button on the next screen.

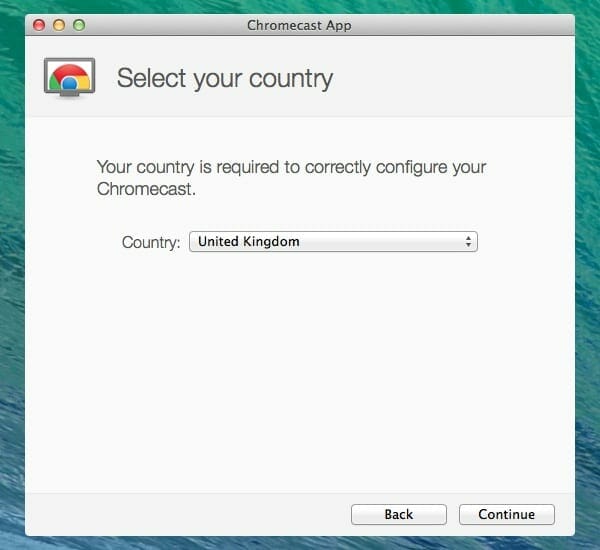
Step 6- choose your country
Step 7- Chromecast software will now connect to the device.

Step 8- Make sure you have selected the right HDMI input as the source on your TV. The Chromecast software will show a code. Compare this code with the one on your TV screen and see if they match. If they do then click “That’s my code” button.
Step 9- At this point, Your Mac has made a wireless connection to the chromecast device just for the sake of configuration. To connect the chromecast device to the Wifi network, select WiFi network and type the password.

Step 10- You can also change the name of your chromecast device. For example, johnny’s Chromecast.
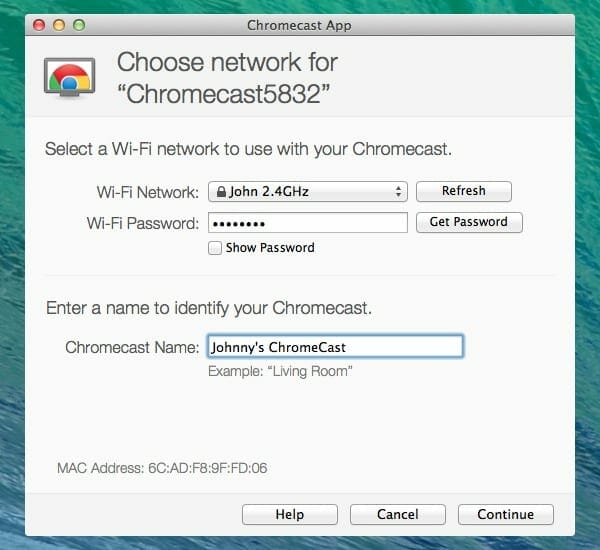
Step 11- Click continue to connect chromecast device to the Wi-Fi network.
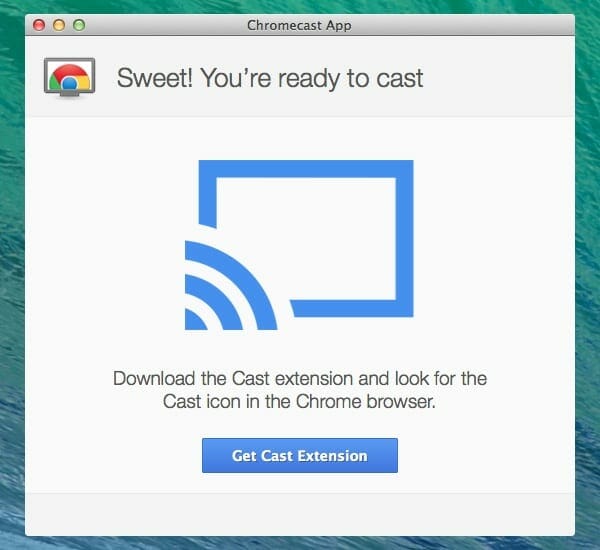
and that’s it, wait for the chromecast to update its software if there is any new update and once done you are good to go.
Chromecast Browser Extension
Step 1- Click the blue button that says “Get cast extension”.
Step 2- A Chrome browser tab will open. Click the blue “Add Extension button”.

Step 3- A new window will appear, click the “Add” button.
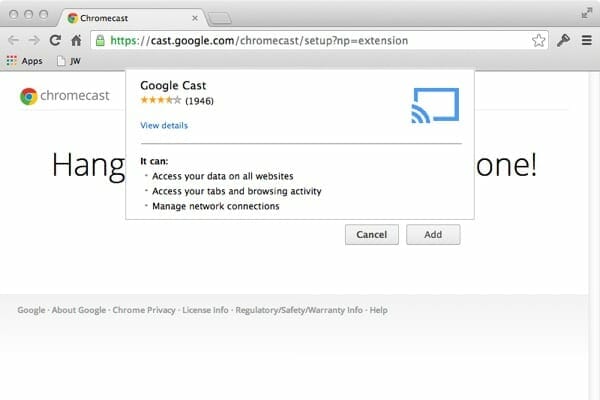
Step 4- Confirmation will be displayed once the extension is added to chrome browser. A new icon will appear in the Chrome toolbar.
![]()
Using Chromecast on a Mac to Stream Videos/Movies
Step 1- Click the icon in the Chrome browser toolbar to enable it first in order to use the cast extension, once enabled it will send wirelessly the contents of Chrome browser tab to the television.
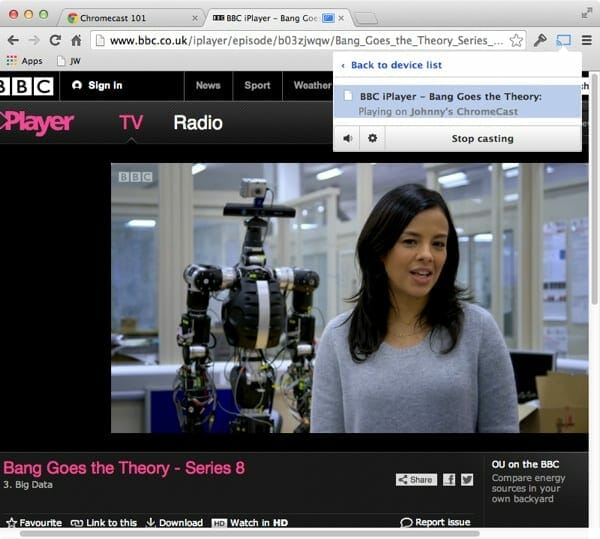
Step 2- Sites such as Youtube will only stream, the video that is being played, to the TV in Fullscreen.
…and there you have it, You have successfully cast video using Chromecast on MacOS. Enjoy!
Do let us know in the comments if this guide was helpful.