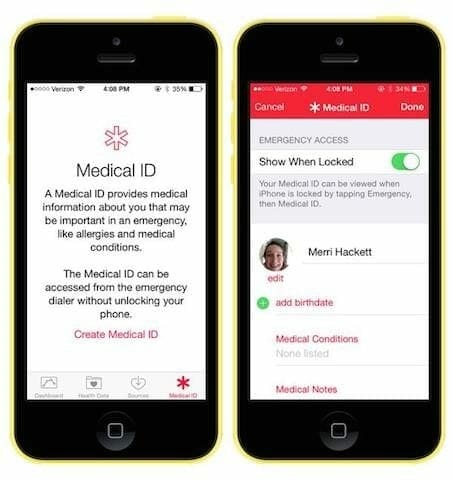
In our last iOS 8 tutorial, we told you about how to create nested folders. Now, let’s move to some other features of iOS 8. As we know, iOS 8 comes with Health and Fitness apps. Health app keeps an eye on your medical data, suggesting you with advices and pre-cautions. Here, we teach you how to create Medical ID in iOS 8. Through this feature, when in emergency, medical responders can quickly have a look on your medical profile. Let’s begin making our Medical ID.
- Run Health app.
- Click on red icon ‘Medical ID’ in right bottom of the app.
- Now, it’s time to configure the ID. Enable ‘Show When Locked’ option.
- Afterwards, start filling the specified categories i.e. your picture, name, date of birth, medical conditions, medical notes, allergies and reactions, medication etc.
- Save the data by tapping ‘Done’ at the top.
You have now successfully created Medical ID. Now, how the people will use it? Well, whenever you are in medical emergency, the people will tap on Emergency from the Passcode prompt screen. They will find the Medical ID option at the left bottom of the screen. When tapped, they will find the contact which you listed to contact in case of emergency. Doctors can also get some sort of help from your medical profile in your treatment.
Hope, you never need to use the feature ever. But well, it’s better to create Medical ID and use this helpful iOS 8 feature.

