

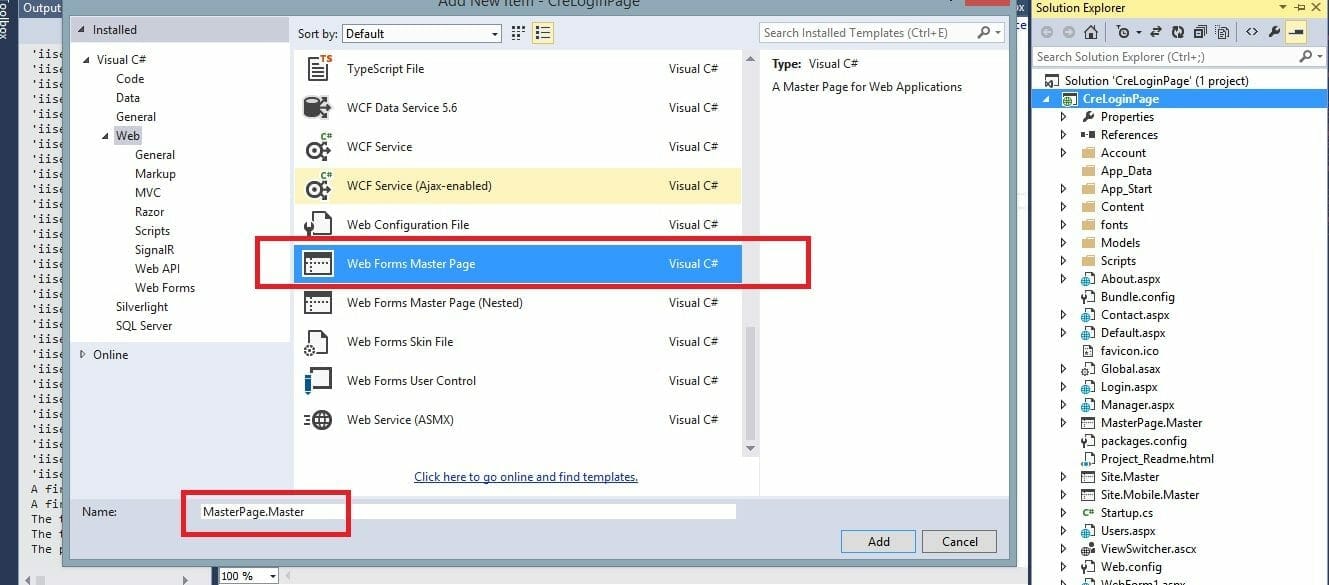
Hello guys ! welcome to the Asp.net tutorials on the TheNerdMag. Today, we are going to learn how to apply master page on the all aspx forms. Well it’s quite easy. I will will show you how to do it in few simple steps. First of all add a master page into your project.
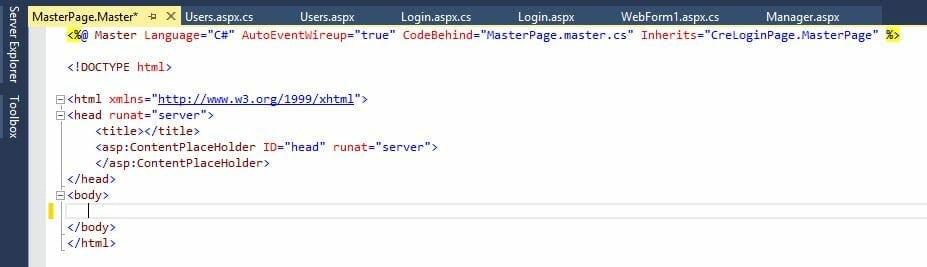
<form id=”form1″ runat=”server”>
<table style=”font-family:Arial”>
<tr>
<td colspan=”2″ style=”width:800px; height:80px; background-color:#3399FF;
text-align:center”>
<h1>
WebSite Header
</h1>
</td>
</tr>
<tr>
<td style=”height:500px; background-color:#66FFFF; width:150px”>
<h3>Menu</h3>
</td>
<td style=”height:500px; background-color:#9999FF; width:650px”>
<h3>content</h3>
<div>
<asp:ContentPlaceHolder ID=”ContentPlaceHolder1″ runat=”server”>
</asp:ContentPlaceHolder>
</div>
</td>
</tr>
<tr>
<td colspan=”2″ style=”background-color:#3399FF; text-align:center”>
<b>Website Footer</b>
</td>
</tr>
</table>
</form>
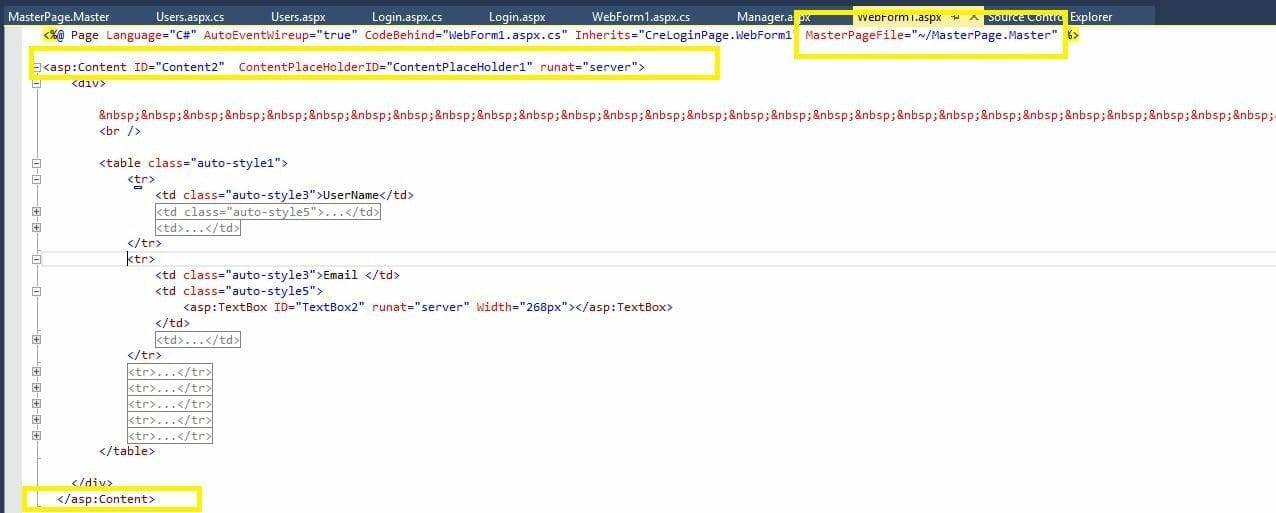
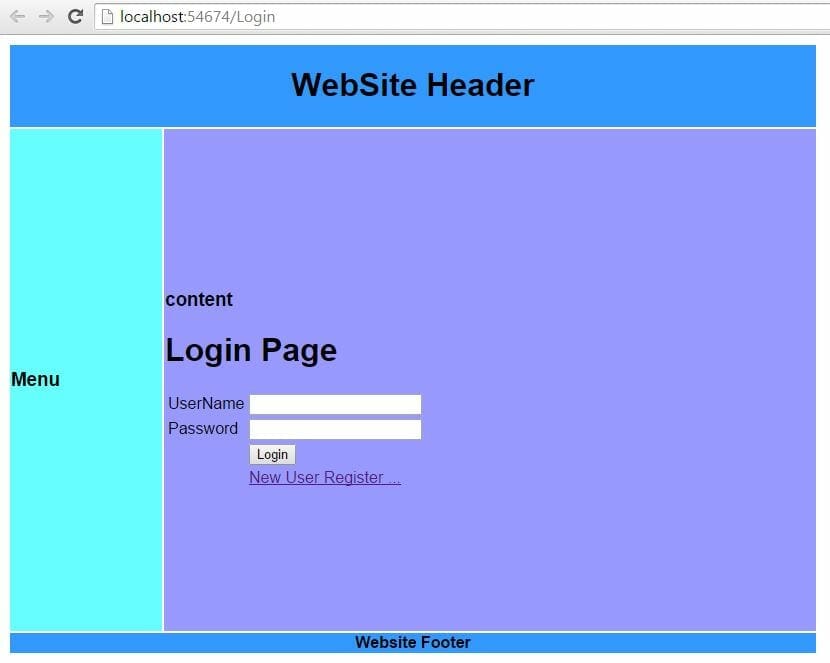
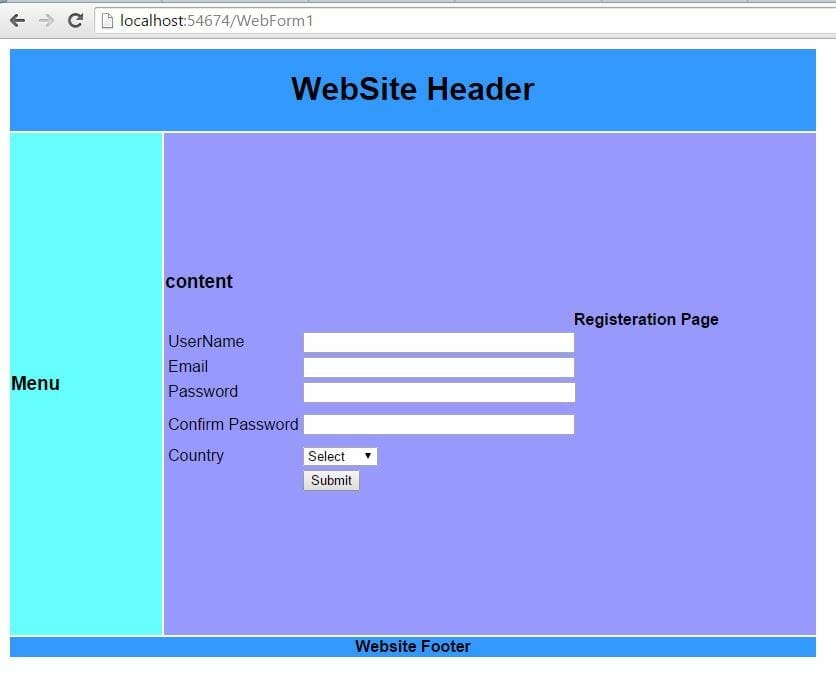
Now your master page is ready. Now we have to apply this master page to login page and registration page. For that you have to you have to delete the HTML ,HEAD and BODY tags from the login design code. And have to add some line that are shown in the picture. 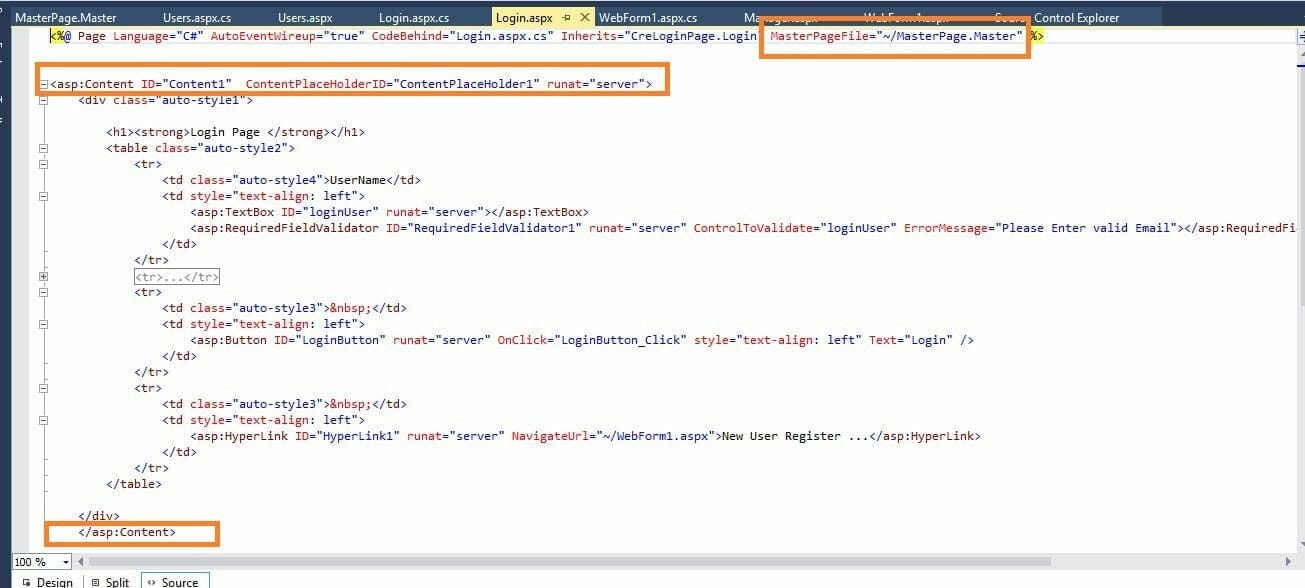
Article Written by Waleed Rashid. More info here.